Showing posts with label Soothing Projects. Show all posts

Sunday, February 27, 2011

Stairs and House Finished

The Stairs are finally finished, well just a few minor touch ups left, which means the inside of the house is done. The stairs were the last major project we had left. Now we just have decorating and upgrading a few lighting fixtures. Daniel has already mentally checked out of the inside of the house and has moved onto the yard and garage. We took photos of the process for redoing the stairs.


The first one here is of the stairs right after we took the carpet out. I thought I took a picture of the nasty carpet on the stairs, but I guess not. This is what we lived with for months. It is that osb board, the kind that gives you slivers.
We went to Lowes and looked at the options for replacing treads. We ended up buying some of the MFD pre-fabricated stair treads. All we had to do was cut them to length. The were $8 each and we had 14 treads to do. Then we decided to paint them with a dark brown oil based deck paint. We ended up putting 3 coats of paint on them, 2 before we put them in and 1 after. I am glad we put 3 coats on because they are much more durable and easier to clean.

After that it was time to go to work. Once Daniel got the hang of ripping out the OSB treads, the demolition didn't take as long as I thought it would.


After the demolition we glued down the stair treads. This process of ripping up the old treads and putting in the new ones took 2 days, one day for each set of stairs (upper and lower). We were able to counter sink the screws and use some wooden dowels to plug the holes from the screws. The screw holes were time consuming because we used oil based paint. We had to paint the screw holes on each of the sides first, let those dry overnight, then paint the ones in the middle and let those dry overnight. That way we could walk up the sides or down the middle of the stairs. After we painted the screw holes with 2 layers, we put one final layer on each tread to hide the screw holes better. That was the night we all slept on mattresses downstairs and went to the Aquarium the next day.
The next step was the trim work. We put a the smallest piece of floor trim we could find at Lowes and ran it above the stair treads on either side. The picture above shows the trim installed on the lower set of stairs and not on the upper set. After the trim was up we painted the area below white. We probably should have waited to paint until last because we scrapped in dinged the wall when we put the bead board in and I will have to touch up the walls.

After the painting we put the bead board on the risers and we finished installing the laminate flooring on the landing. The final step was gluing the stair nosing on. It took 30 minutes for the glue to set and we didn't have any weights or clamps to hold the stair nose on so Daniel sat on it while I brought him bowls of cereal. The bead board cost us about $55.00. This project was time consuming but relatively inexpensive.
Treads-$112
Bead Board-$55
Floor Paint-$27
Trim-$12.50
Stair Nose-$29.00
Laminate Flooring-$30
Here are some pictures of the completed project. I love them! During the whole process Daniel kept saying he can't vision how it will look and wasn't sure of how he would like them when it was done. When he was done eating his bowl of cereal he said "Wow I am good, look how good they look!" He did work really hard on them, but it made me laugh that he couldn't imagine how they would look until it was all done, which took no imagination at all. Right now they are my favorite part of the house.


I LOVE MY STAIRS AND I LOVE THE FACT THAT ALL THE MAJOR PROJECTS IN THE HOUSE ARE DONE!
A side note: When we bought the house our goal was to have all the major projects done and paid off with in a years time, we closed on the house April 1, 2010. We finished ahead schedule and used our tax returns to pay for the major purchases.

See the full tutorial for these stairs here at Prudentprojects

Saturday, February 19, 2011

How do you become the coolest Parents Ever

Well we really don't know how to become the coolest parents ever but we did have a sleepover with all our kids downstairs with movies all night. We brought four mattresses downstairs and set up beds for everyone (including Jamison) Our goal was not to become cool parents but to get the final coat of paint on the stairs(which needed 24 hours to dry, oil based is the best but takes forever to dry) So we packed up and moved downstairs for 24 hours. The kids LOVED it. They were bouncing around and wrestling all night. It was a rough night for Jamison but we got through it.


This picture was from the sleepover. They even wanted to do it again tonight!

So we still are not done with the stairs but the most time consuming and cumbersome part (the treads) are DONE!! Wohoo time to celebrate with a good nights sleep.

This is the only before picture I can find of the stairs but I swear I had one of the actual stairs and not a closet door. As you can see they were a beige carpet color with major dirtiness and smelliness going on.

And here is where we are right now:
We are going to paint the small parts on the stairway wall white. The stair risers are going to be bead board because well thats what we want. Obviously its still osb board with tons of beige paint speckles.

You may wonder why its all taking so long to finish these stairs. Well its because stairs are hard to do as they are the path between the sleeping/bathing area and the living/eating area in our house so everything has to be done in little steps and usually on weekends so we can convince the kids to stay in one area of the other. The other reason is beceause its the last house major project so you know how final projects go.

So we replaced all the treads as you saw in a previous post. Instead of nailing them in we screwed them it and put lots of wood glue on so there would be no sqeeking and so it would all be up to code. Daniel sunk all the screws and then put wooden dowels in to fill them. I had put two coats of Valspar oilbased floor and deck paint on the treads and let them set and treat for a month prior to installing them. Then I needed to touch up where the wooden dowels were and then we put a final coat of paint on all the installed stairs and here we are. It took so long because the goal was to make sure you couldn't see the screws or dowls or anything.

So here is a picture of the stairwell tonight:

We have a few more steps and then we are done with major house renovation things. Just in time for our backyard and spring.

Now onto that lovely nights sleep.

Miriam

Tuesday, January 25, 2011

Kitchen Lighting

Daniel put in under cabinet lighting in the kitchen and they really brighten the kitchen up


I even have a picture framed with a little spot light
I love them

Friday, January 14, 2011

We are not Ninjas

Our kids are not Ninjas as soon as Daniel took the treads off he put the new ones on. Sorry for the confusion :)

Thursday, January 13, 2011

Our latest and Greatest project!! SO EXCITED

We have started the second to last project in the house. THE STAIRS. They are coming along very well and I love that Daniel is so handy. We are not done yet but I wanted to give a sneak peak at the work.

Checking how it will look
demolition
The first set of treads are down and the second set will go this weekend. Then we will do the risers then finish the landing and then put all the finishes and touch ups so we still have a few weeks until they are done. Yay for progress

Monday, January 10, 2011

Relaxing

We have just been relaxing around here for the last few weeks. I have been trying to get the house in order. I like to reorganize every new year so that is what I have been doing. I redid all the kitchen drawers and organized and labeled everything. I also purge the monthly filing cabinet of all the last years things that can be put in a more permanent file. I must say I really enjoy organizing.
Its one of those stress relievers for me. The kids have been playing a lot of kitchen. For some reason they really enjoy it. Especially when I let them make food out of play doe. They set it up upstairs and downstairs and are using their imagination so its fun to watch.
Jamison has been growing and smiling and figuring out how to play with hanging toys. He can sit in his chair for 15 minutes without making a sound just trying to knock the elephants and giraffe off the string. He is usually calm until he gets them all off and then he starts to yelp. Thats right he doesn't cry or scream he just calls for help. Daniel has been working hard. He also installed some under lighting in the kitchen! I love it its so much brighter now. I haven't taken a picture yet because I still hate the color I chose to paint the kitchen. Its almost been a year so I know its never going to grow on me.

I have also been in a mad rush to put things on the walls because a home feels empty to me without wall coverings. I have been changing things too. I like to put things up and wait for 2 weeks or longer and then see if they bug me. If they do I change them. So I changed my sea scape wall from this:to this and there are still parts that bug me.
I painted all the frames and mattes white. It just looks calmer and more crisp. But the two photos to the right are bugging me because the one is too high but Daniel wants me to switch the large one all the way to the left with the two because the light reflects off the two. I have taken many frames down and I am redoing them. Either painting them, moving them or switching frames. This is my dinning/front room in its current state:

I hope to get this done soon but the walls will be a work in progress thats for sure.

Thursday, November 4, 2010

Seascape Wall

This is my seascape wall.
I completed it a few weeks ago and I love it.
Its the first thing you see when you walk into the house.
As you can see there is room to grow.
So far I have one water color, one acrylic, one print and 8 photographs.
Some are mine and others are not.

Now i just need a buffet underneath when I find one that I love.


Thursday, September 9, 2010

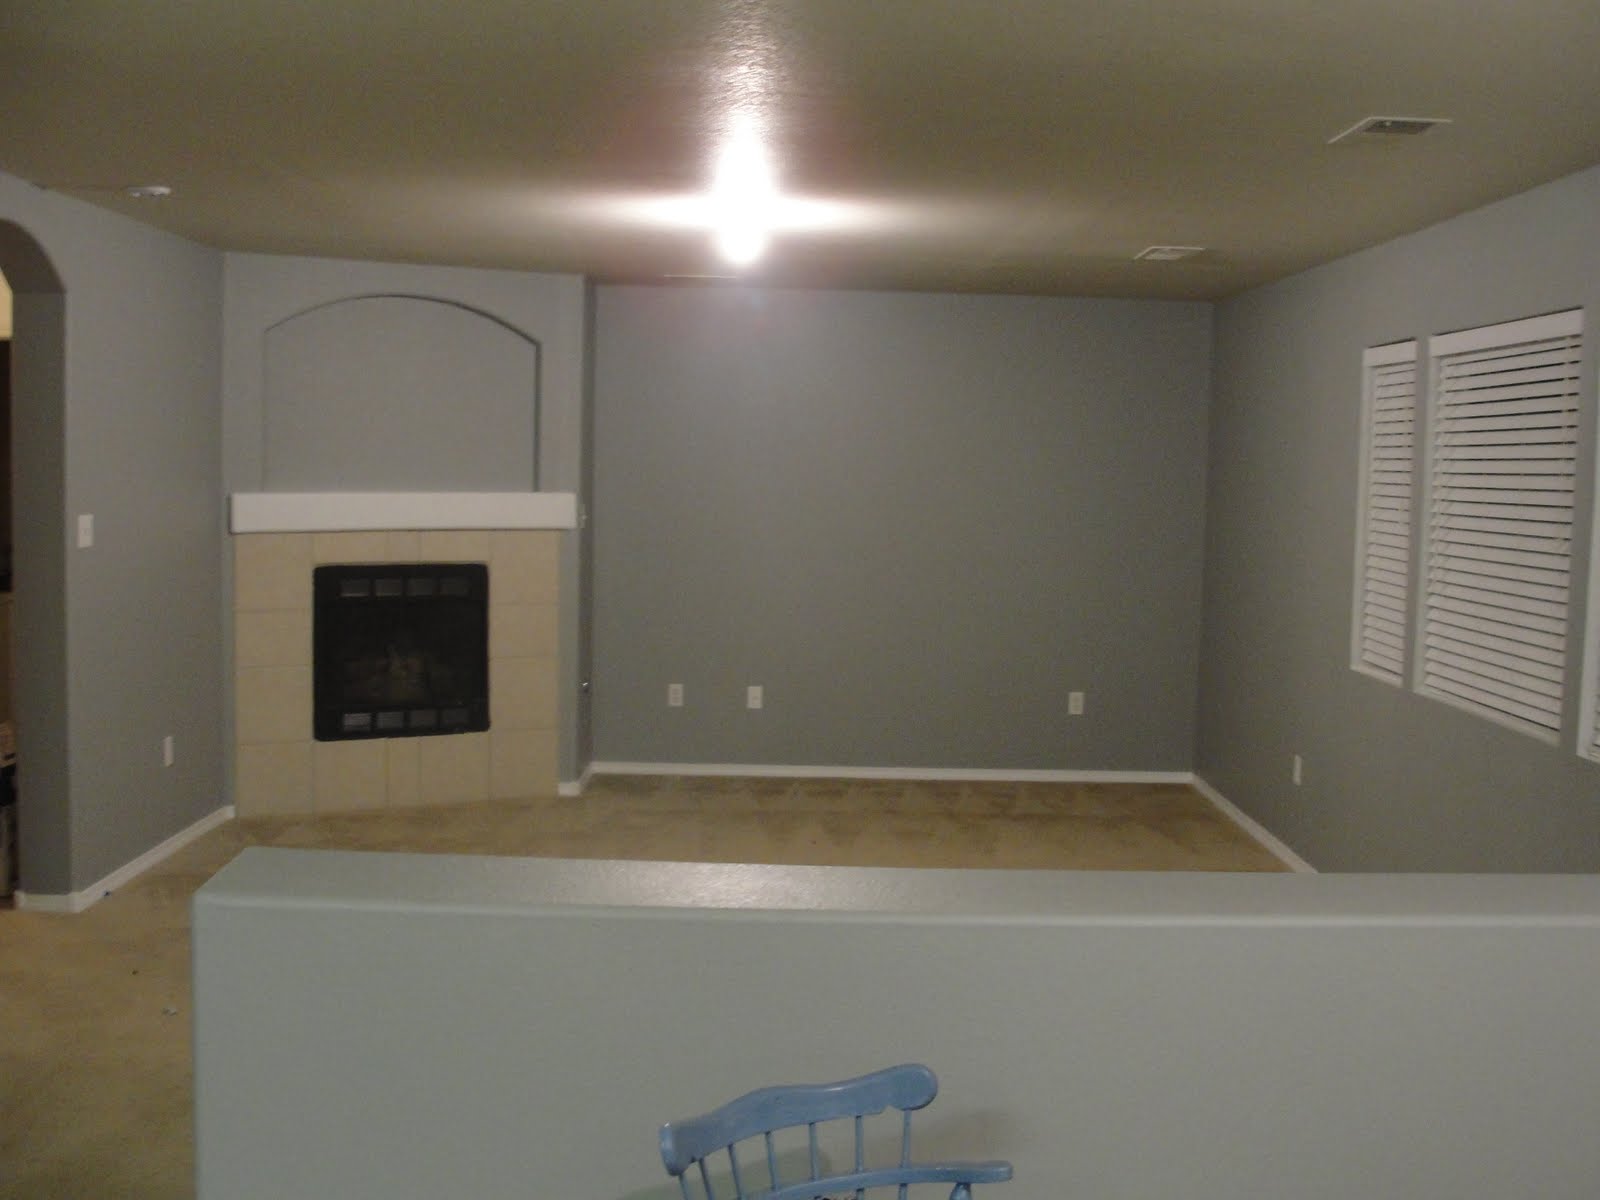
Sneak Peek of the family room

Our family room has been a work in progress. It is almost done it just needs some more furniture and a new couch. (which we need to find) Couches are difficult because we want to get a comfortable stylish kid friendly stain resistant fits the room kind of thing (talk about high maintenance) so it might be awhile before me find the right one. In the mean time we will stick with our red leather one.
Anyway this room started off as this:
This is how we bought it plain jane

Then add lots of paint with Opa and Daniel's hard work


Then comes floors and Daniel's expertise and diligence

Then turn off the lights and you have your own theater in your house!

I love this room! I didn't think I would because its all electronics but I really LOVE IT! We can just watch movies at home with all three kids in bed. It has surround sound and everything! Oh and we added a tv for looks.

Wednesday, September 8, 2010

I LOVE my husband

Daniel finished all the floors and all the transitions and everything! He is the BEST! You can look here for the before's of this room

Here are some pictures of the front room with furniture.
part of the front room

That is the front door to the right
Eva running through the picture
The little sitting area by the front window
picture taken from the sitting area
(I hate the couch but it will be there until we find a new one to go in there)
The wall behind the dining table is going to have my seascape collection as soon as I finish it
oh and the china hutch will go in the corner where the baby chair is

A view from the stairs
My dining set.
Yes Daniel even finished my chairs for me!

Alexander playing dead for the camera
why? good question.
Eva joining in of the playing dead

I have to admit I have felt extremely spoiled this time around (having Jamison) Daniel has been doing everything and hasn't complained or anything (unlike myself) He really is a great man (cheesy I know but he helps me so much!)

Miriam

Thursday, August 19, 2010

sneek peek


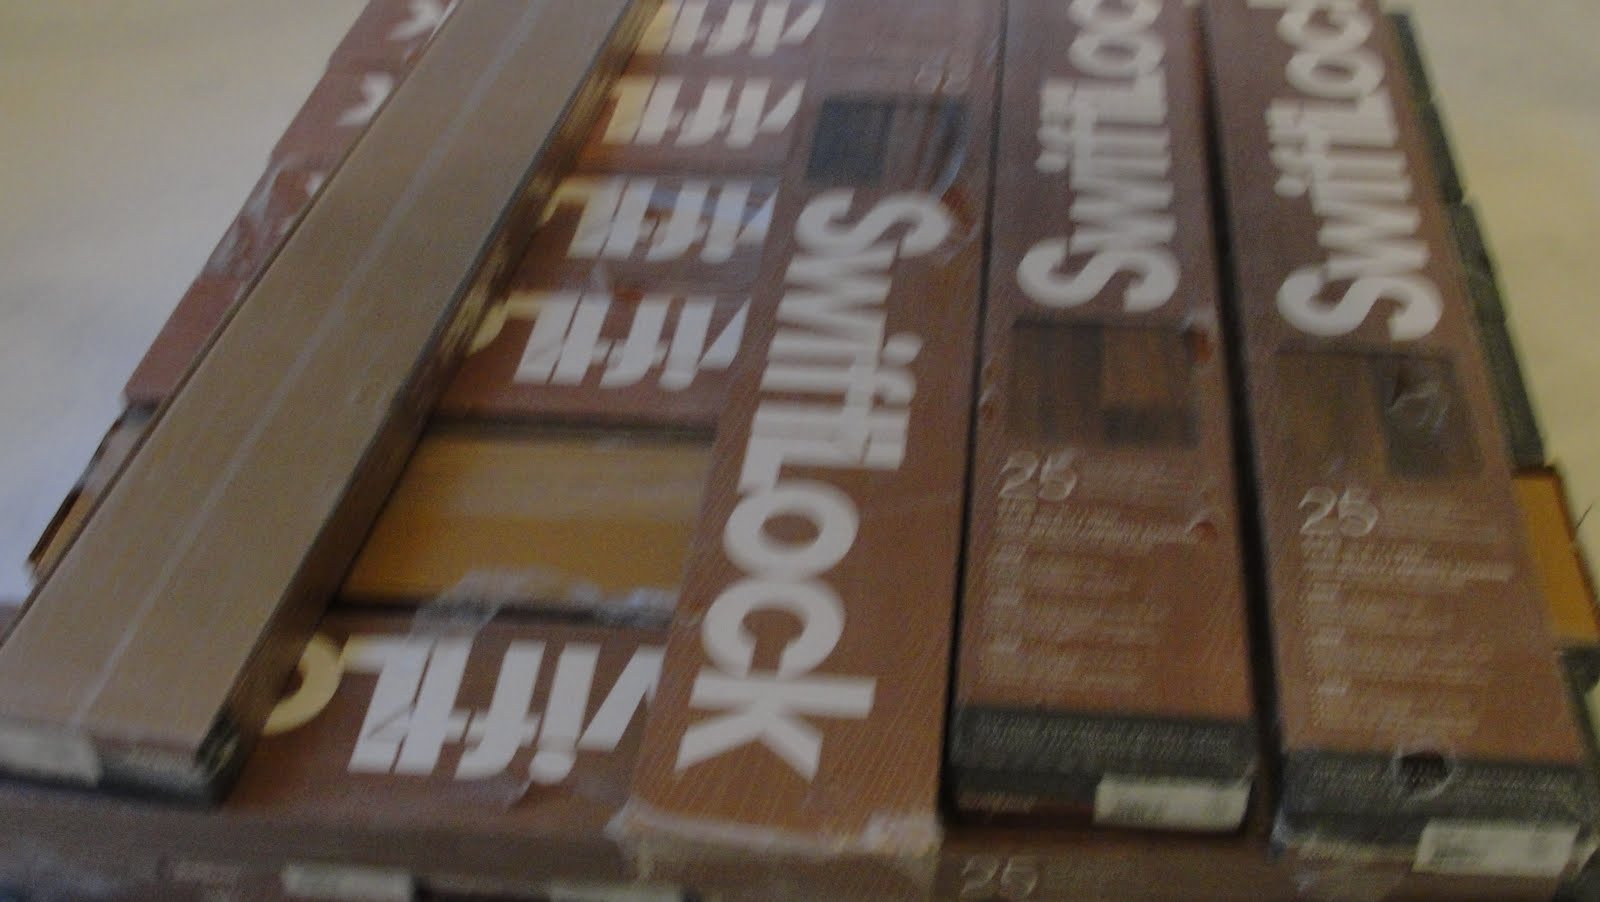
So Exciting we bought these yesterday and I have never been so excited for floors in my life. Now we just need to install them :)

Wednesday, August 18, 2010

My international wall

This is my international wall. I have recieved many lovely things from my mother and from my travels and from Daniel's mission and other things. Here are some of them. They are all very different items but I wanted them together so I made it work and it has lots of room to grow.
I have always wanted a wall like this and now I have one

Tuesday, August 17, 2010

Up coming projects

Seeing as this baby is NEVER coming and I won't know when its coming anyway I am trying to keep a HUGE project list going or I will go insane. I currently clean the house top to bottom twice a day just in case and I make sure its extra clean right before we go anywhere which is tiring because well trying to get the kids ready at the same time can be trying. Here are some upcoming projects.This is for a seascape wall. I love seascapes and they will be the back drop to the dinning room table. As you can see I only have 2 so far but its a work in progress (as is life) I plan on using my giant frame to the left of this wall because lets face it my walls are GIANT.

This project is for a wall of mirrors for the entry way of the house. I saw a wall of mirrors in a magazine showcasing something else and I loved the wall of mirrors. As you can see I only have 3 so far but I plan on having a lot more. The criteria is oval or round in all sizes. Here is what they will all look like to keep the wall looking uniform:


The blue is actually a lot darker than this. Its the same blue as the two chairs I did and the rug in the tv room to keep a uniform color in all the down stairs rooms. I want to wait to put them on the wall until I have more. More to come later on other projects that I make up as I go.